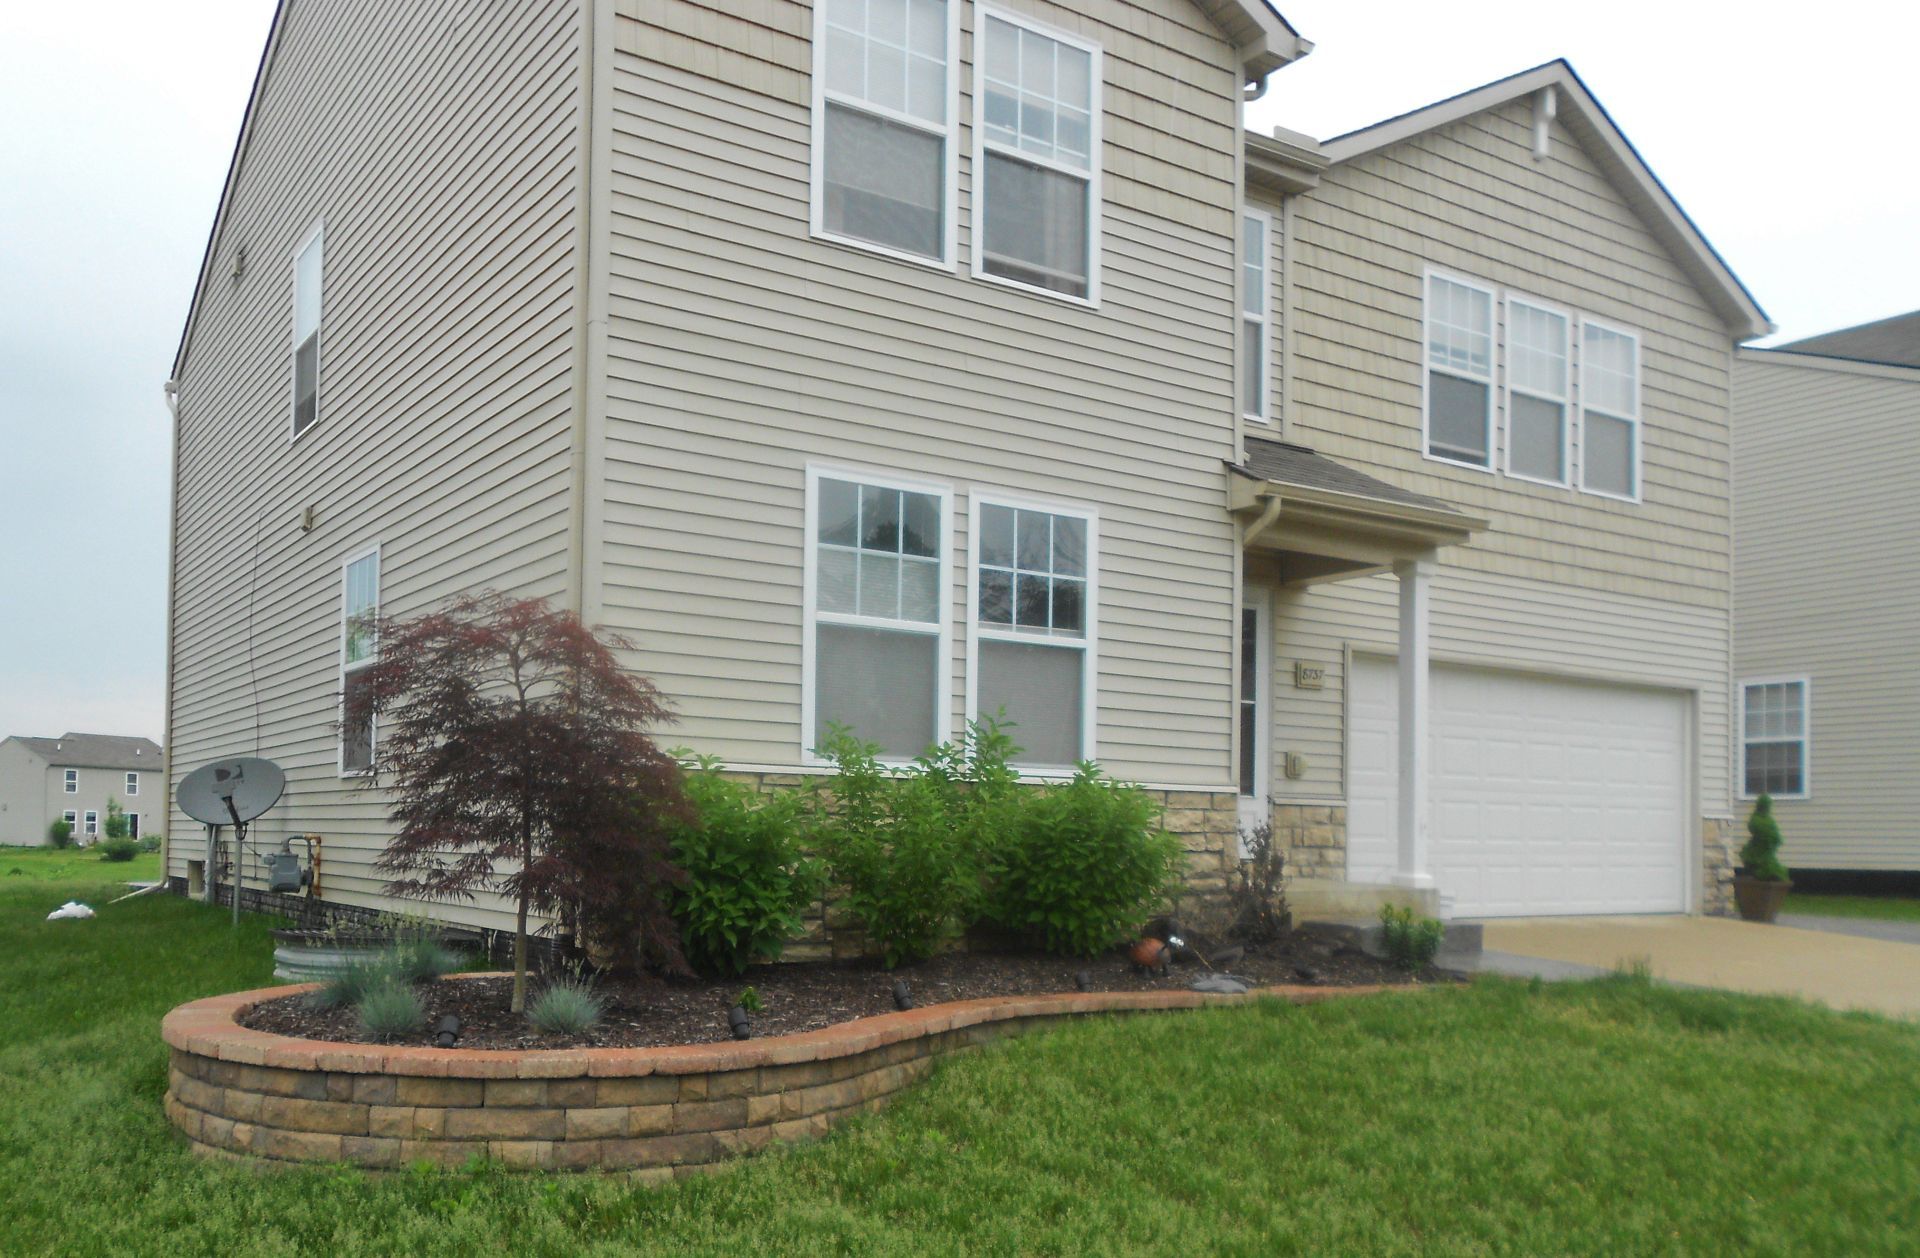
Landscaping and a retaining wall are a great way to give your home a unique look.
The retaining wall is a simple but elegant design using landscape block
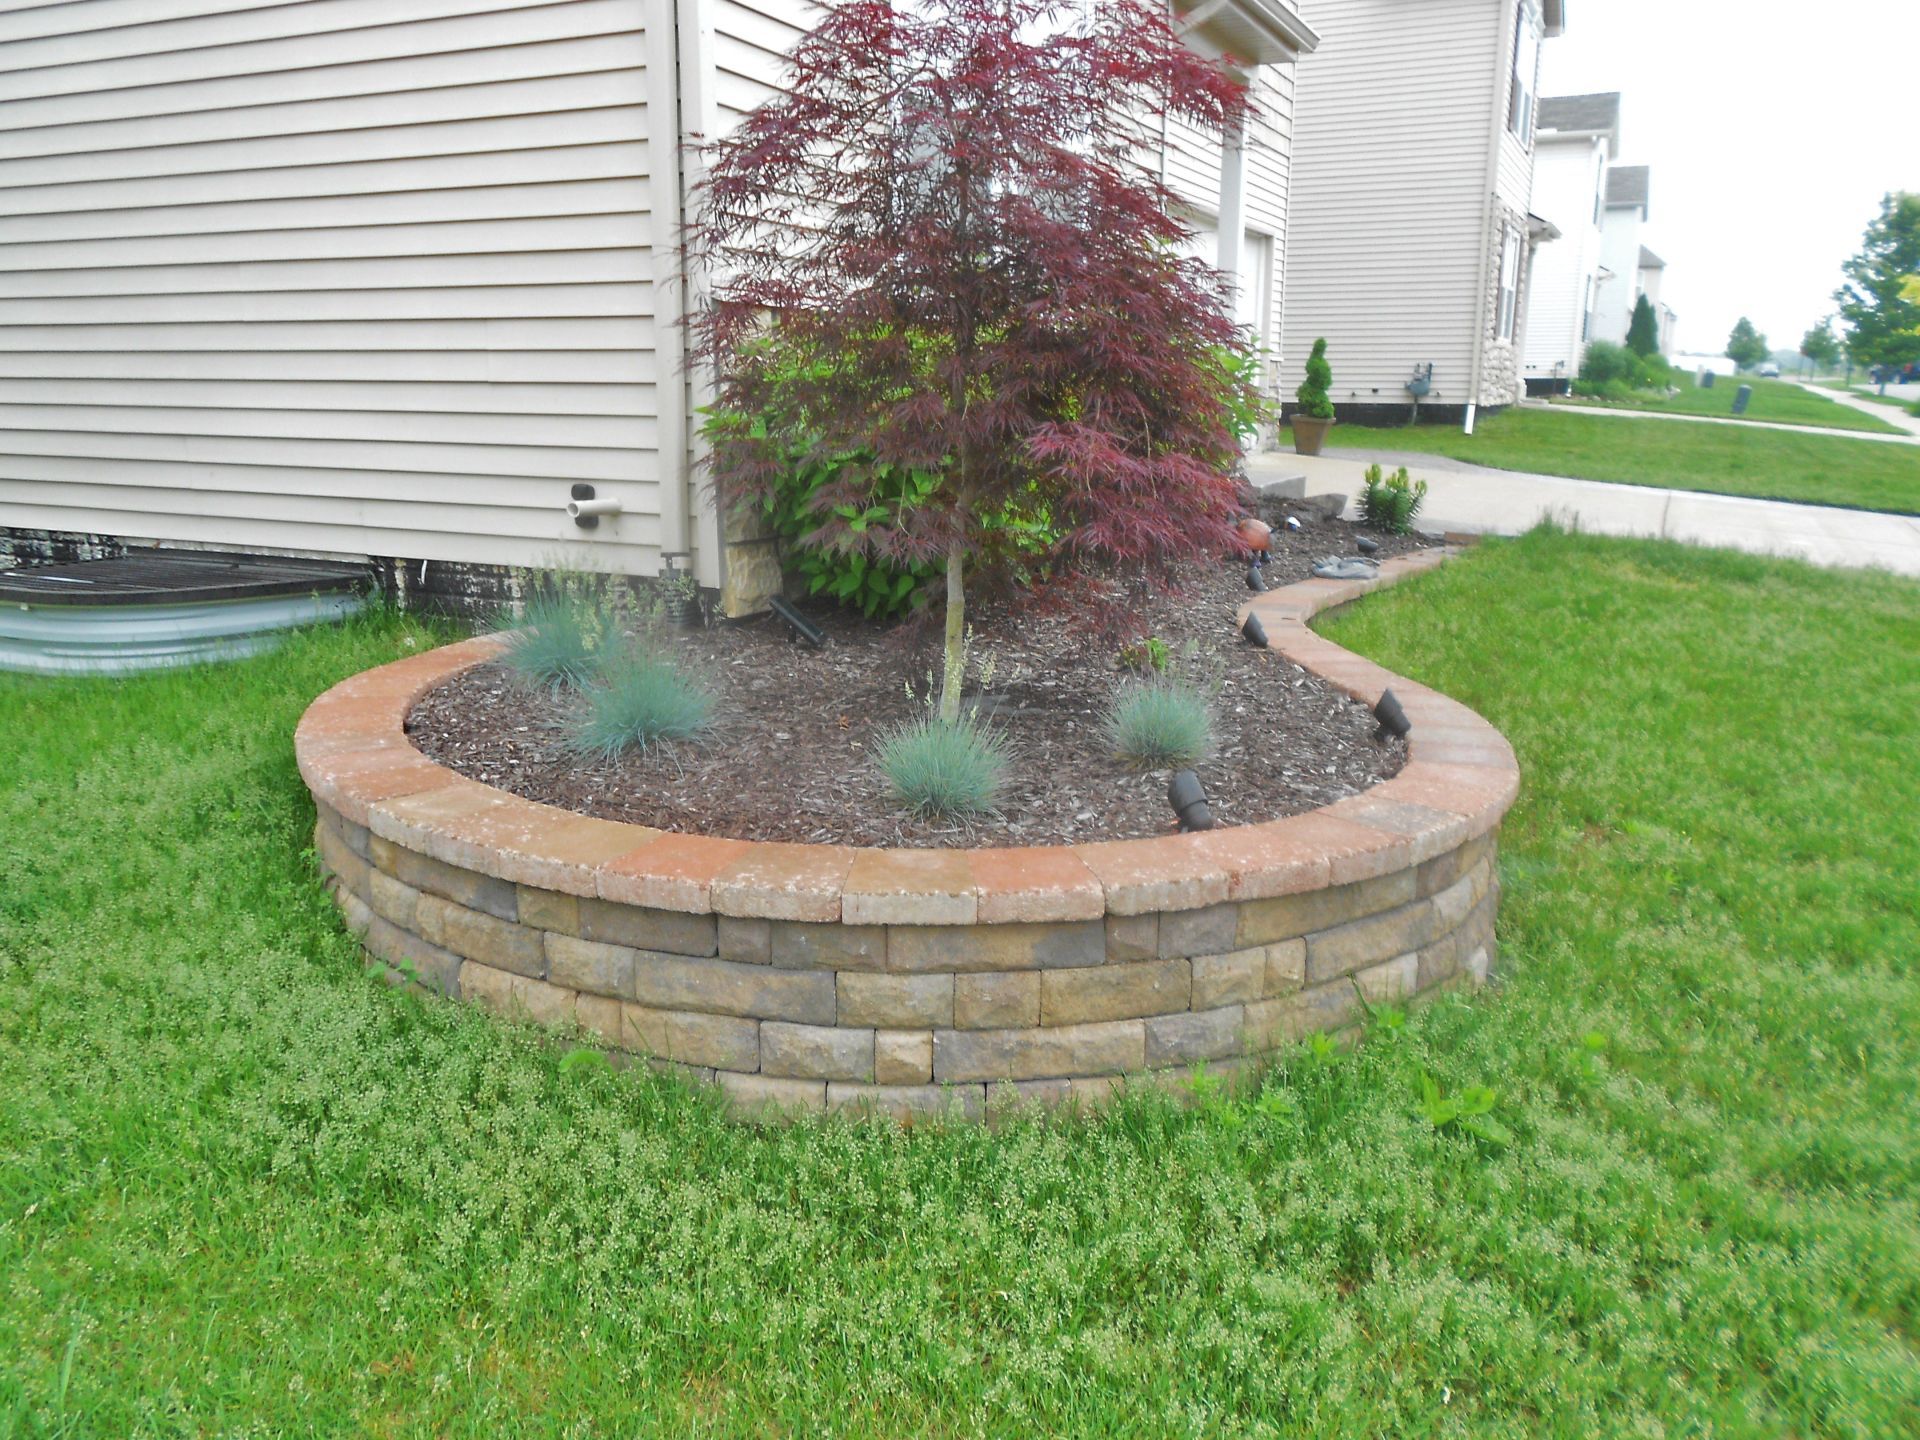
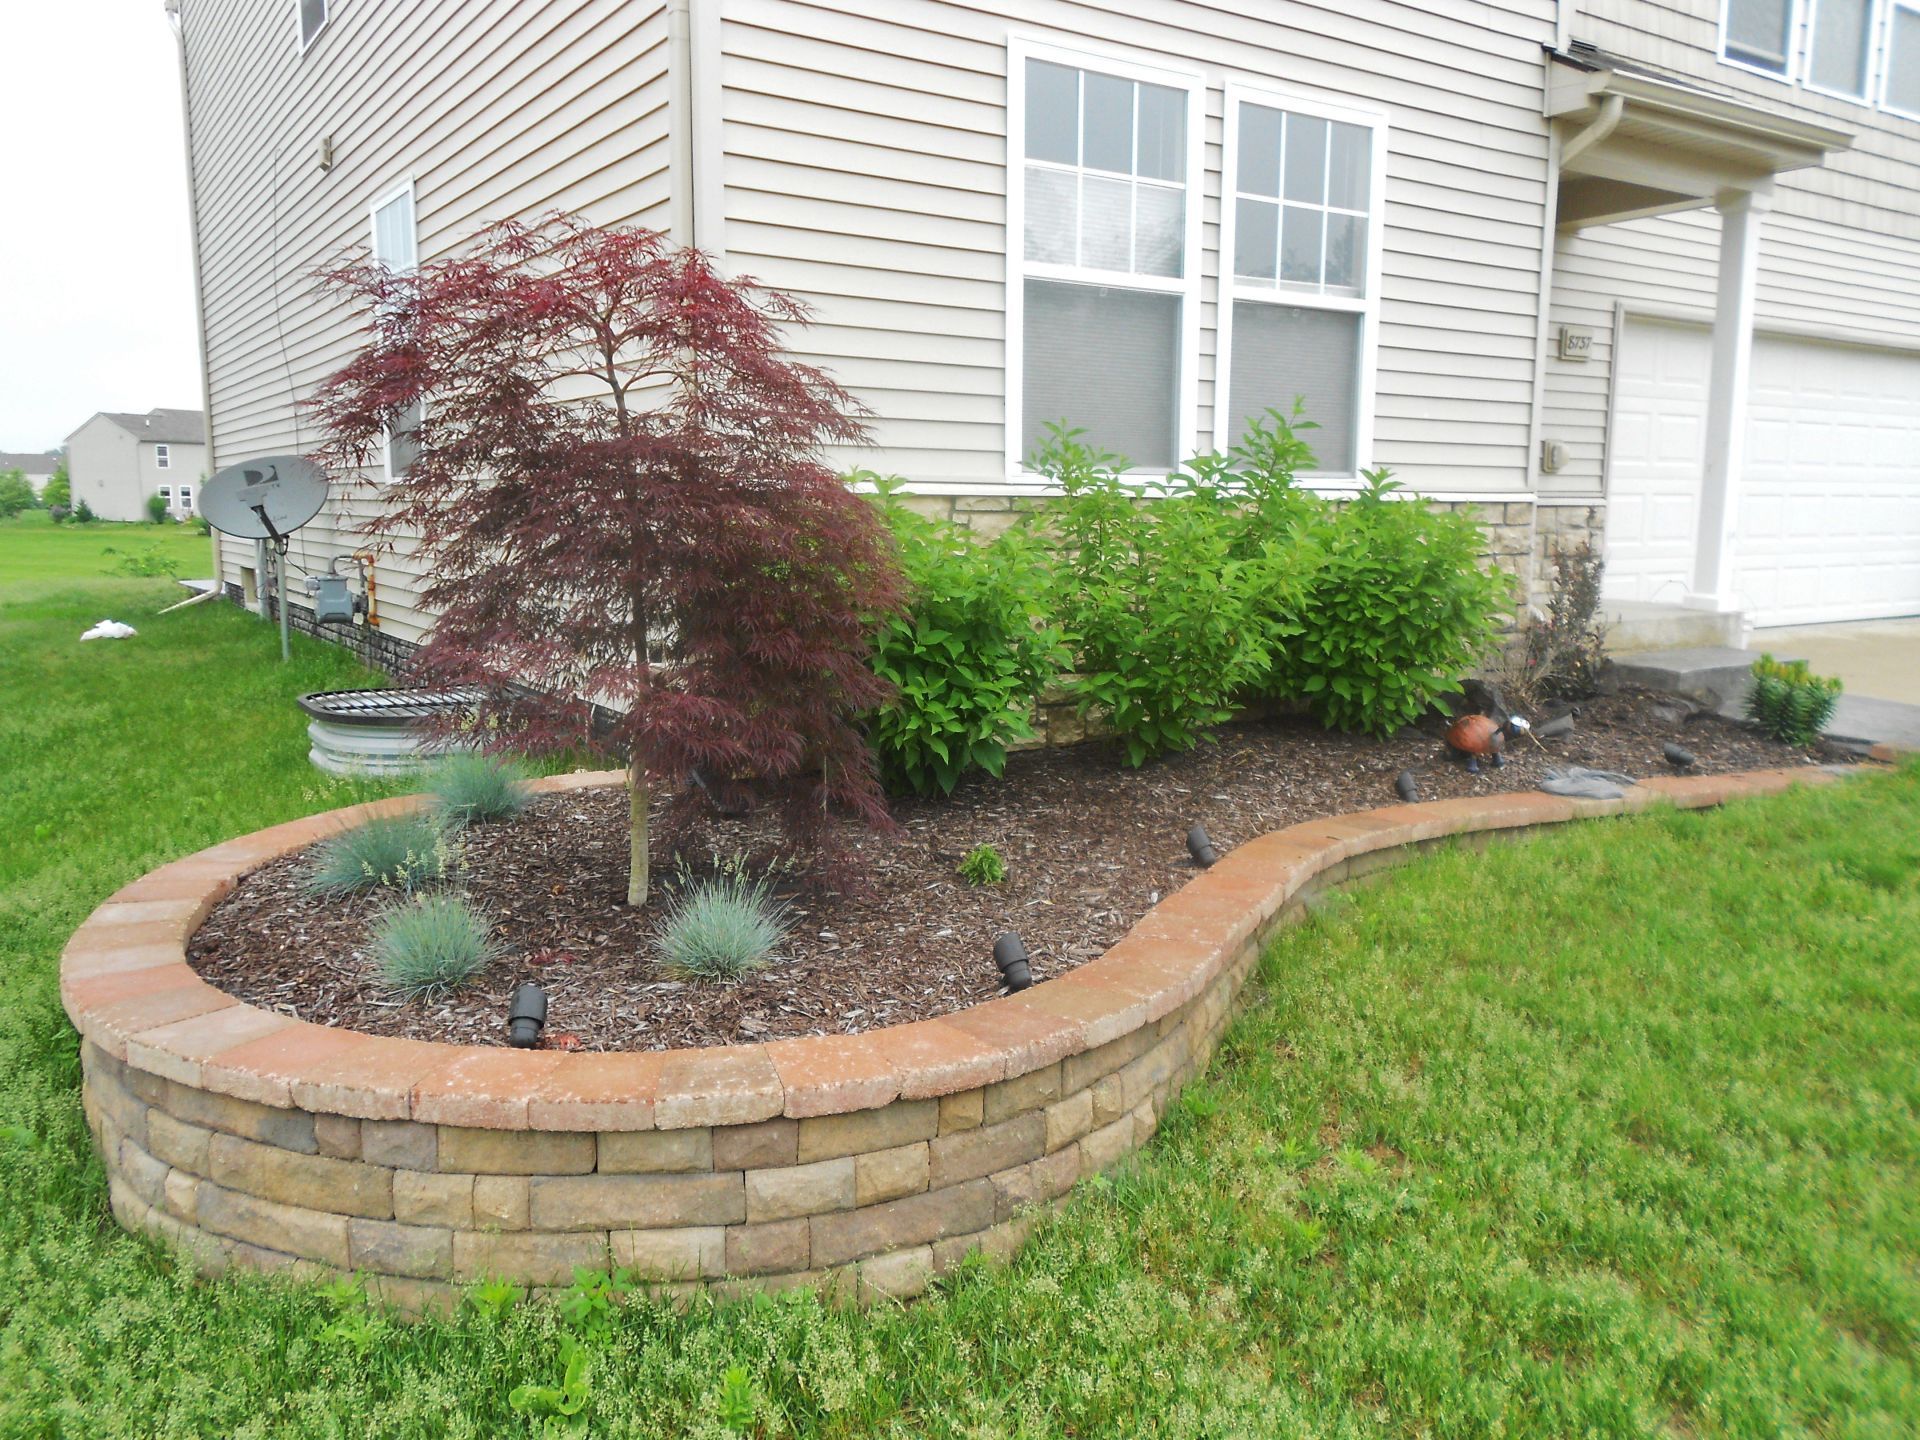
The versatility of landscape block makes curves of any shape.
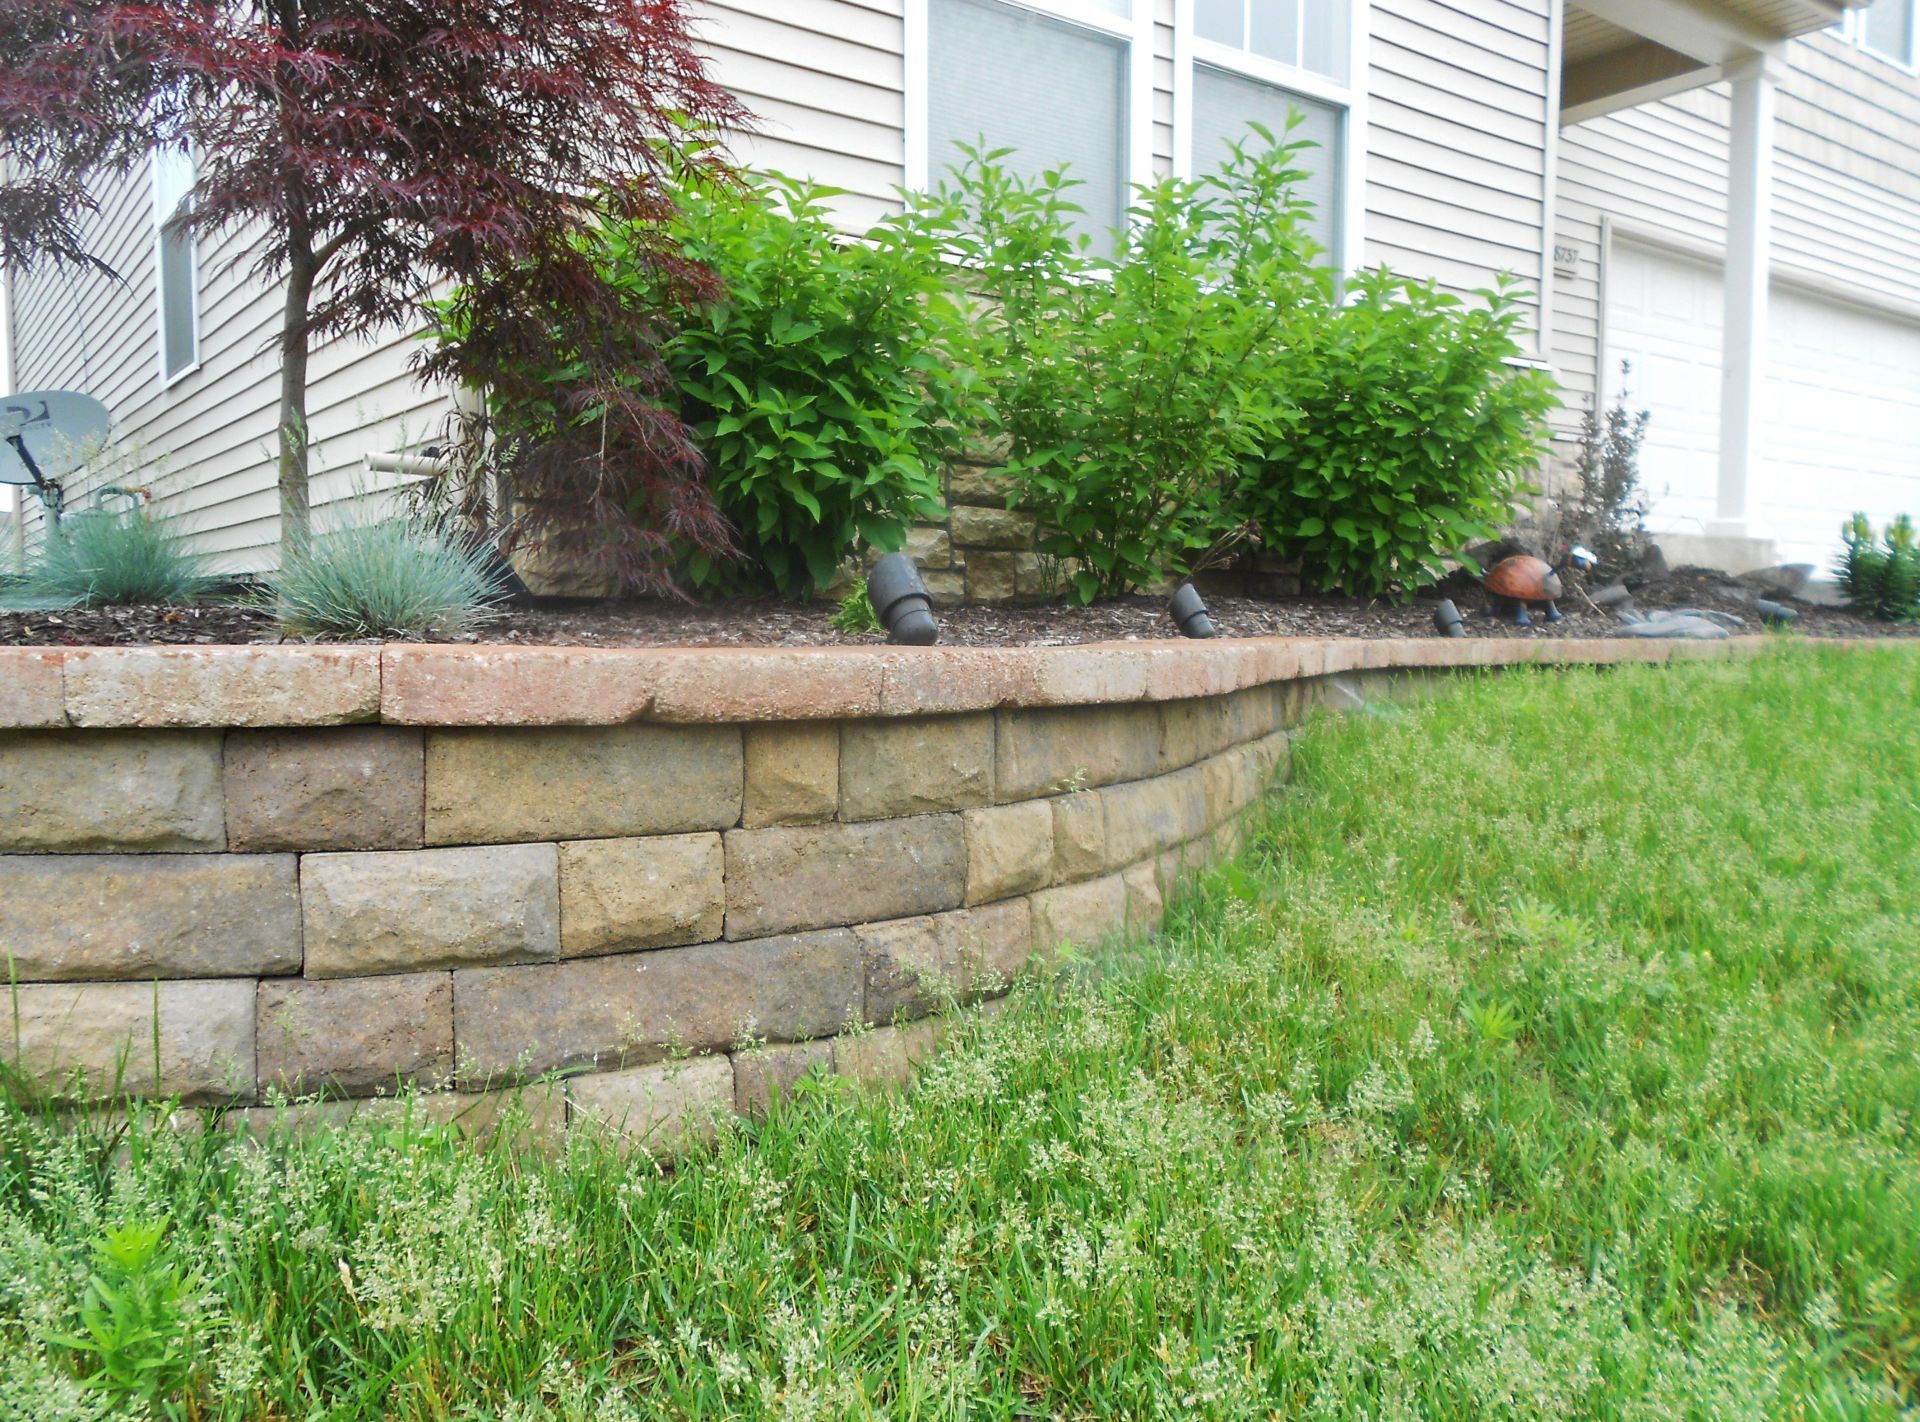
A closer look at the detail and colors in the retaining wall.
Dexter Block
13600 Luick Dr, Chelsea, MI 48118
Privacy Policy | Sitemap