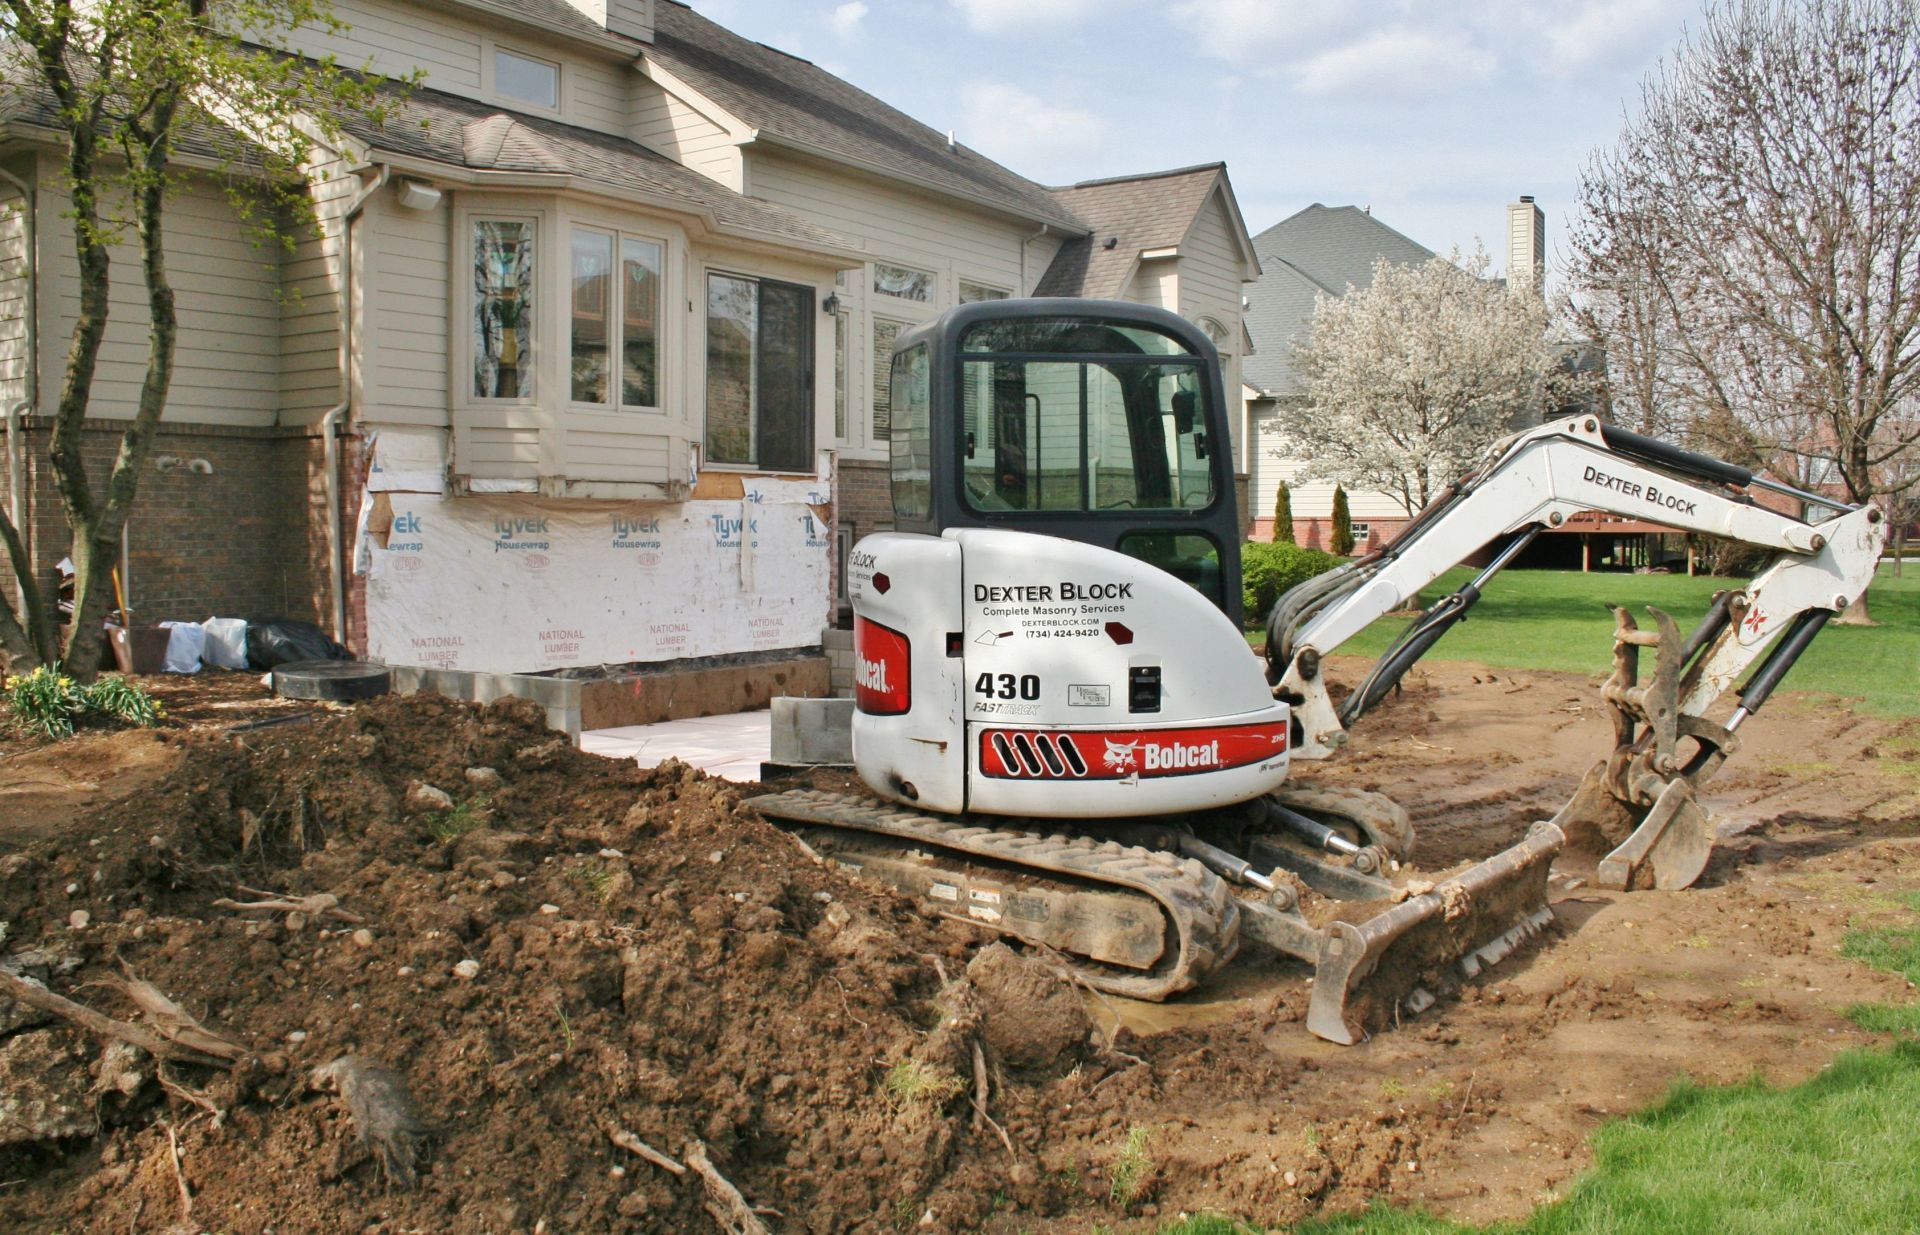
Using the excavator to finish up a foundation and move some excess topsoil.
An opening has been left in the foundation for double doors that will lead to a storage area.
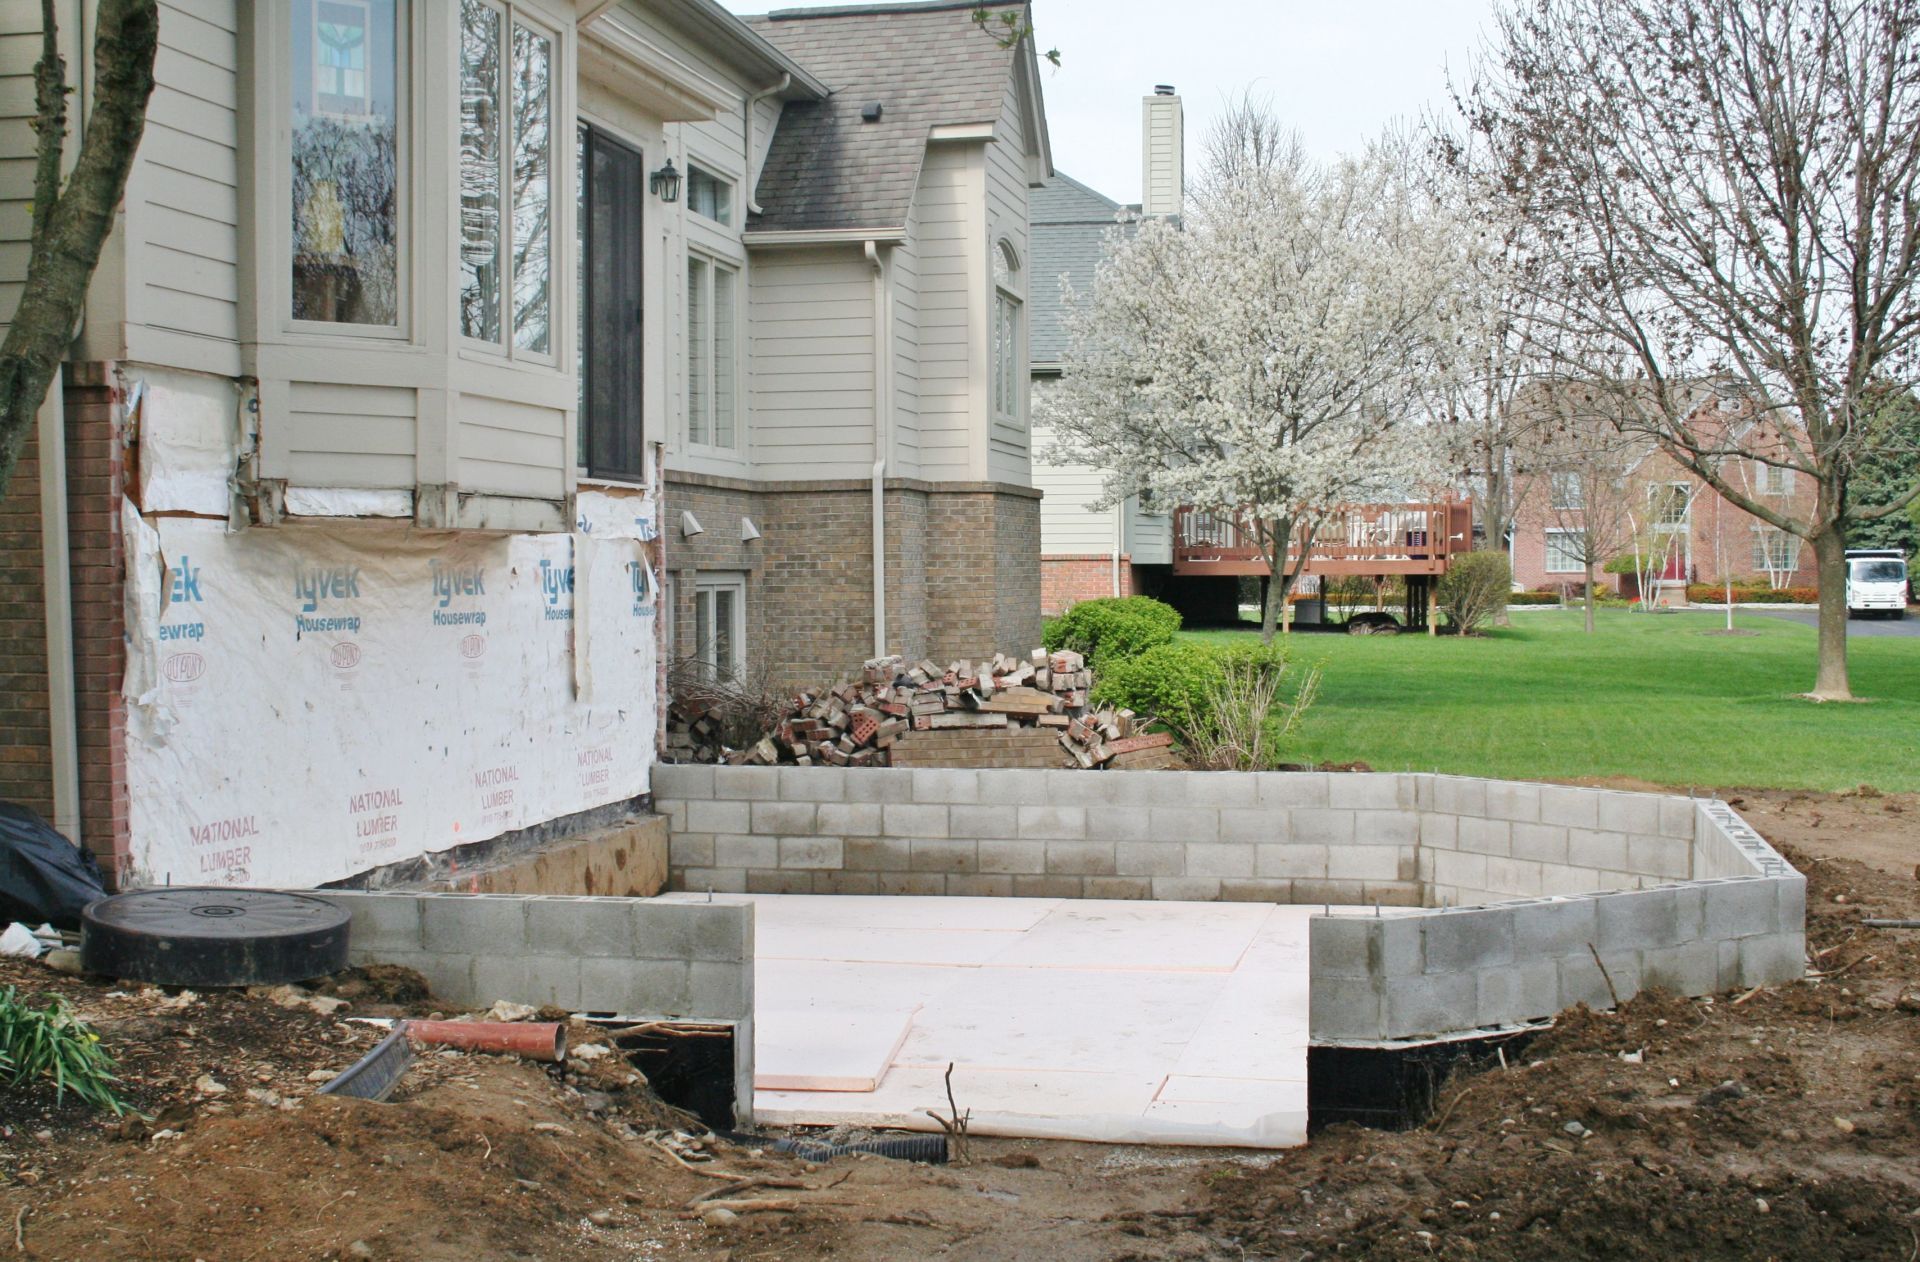
Soon a sunroom and storage area will be placed on the new foundation.
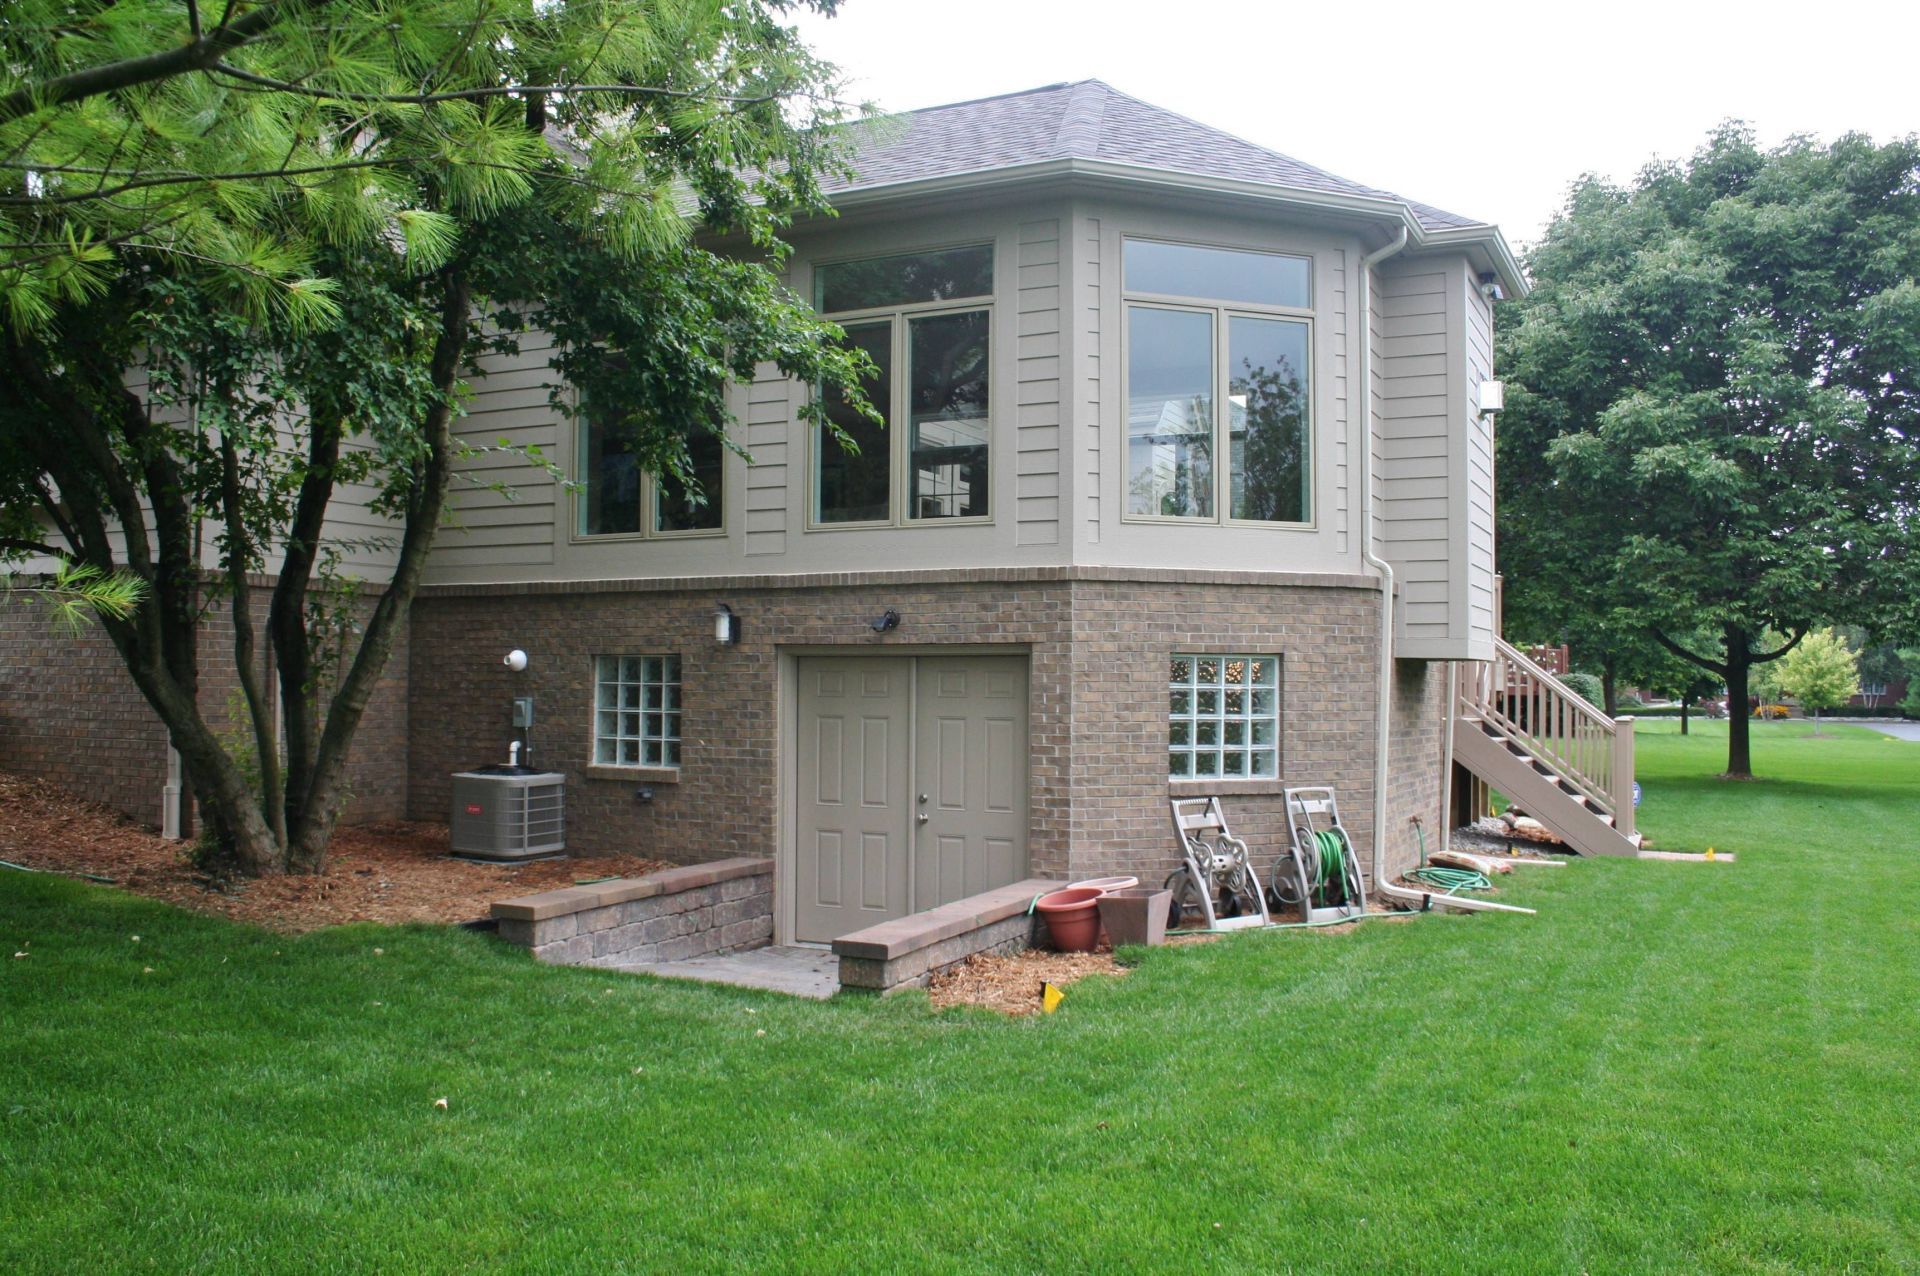
A look at the finished sunroom and storage area that features a brick and stone entry.
Dexter Block
13600 Luick Dr, Chelsea, MI 48118
Privacy Policy | Sitemap