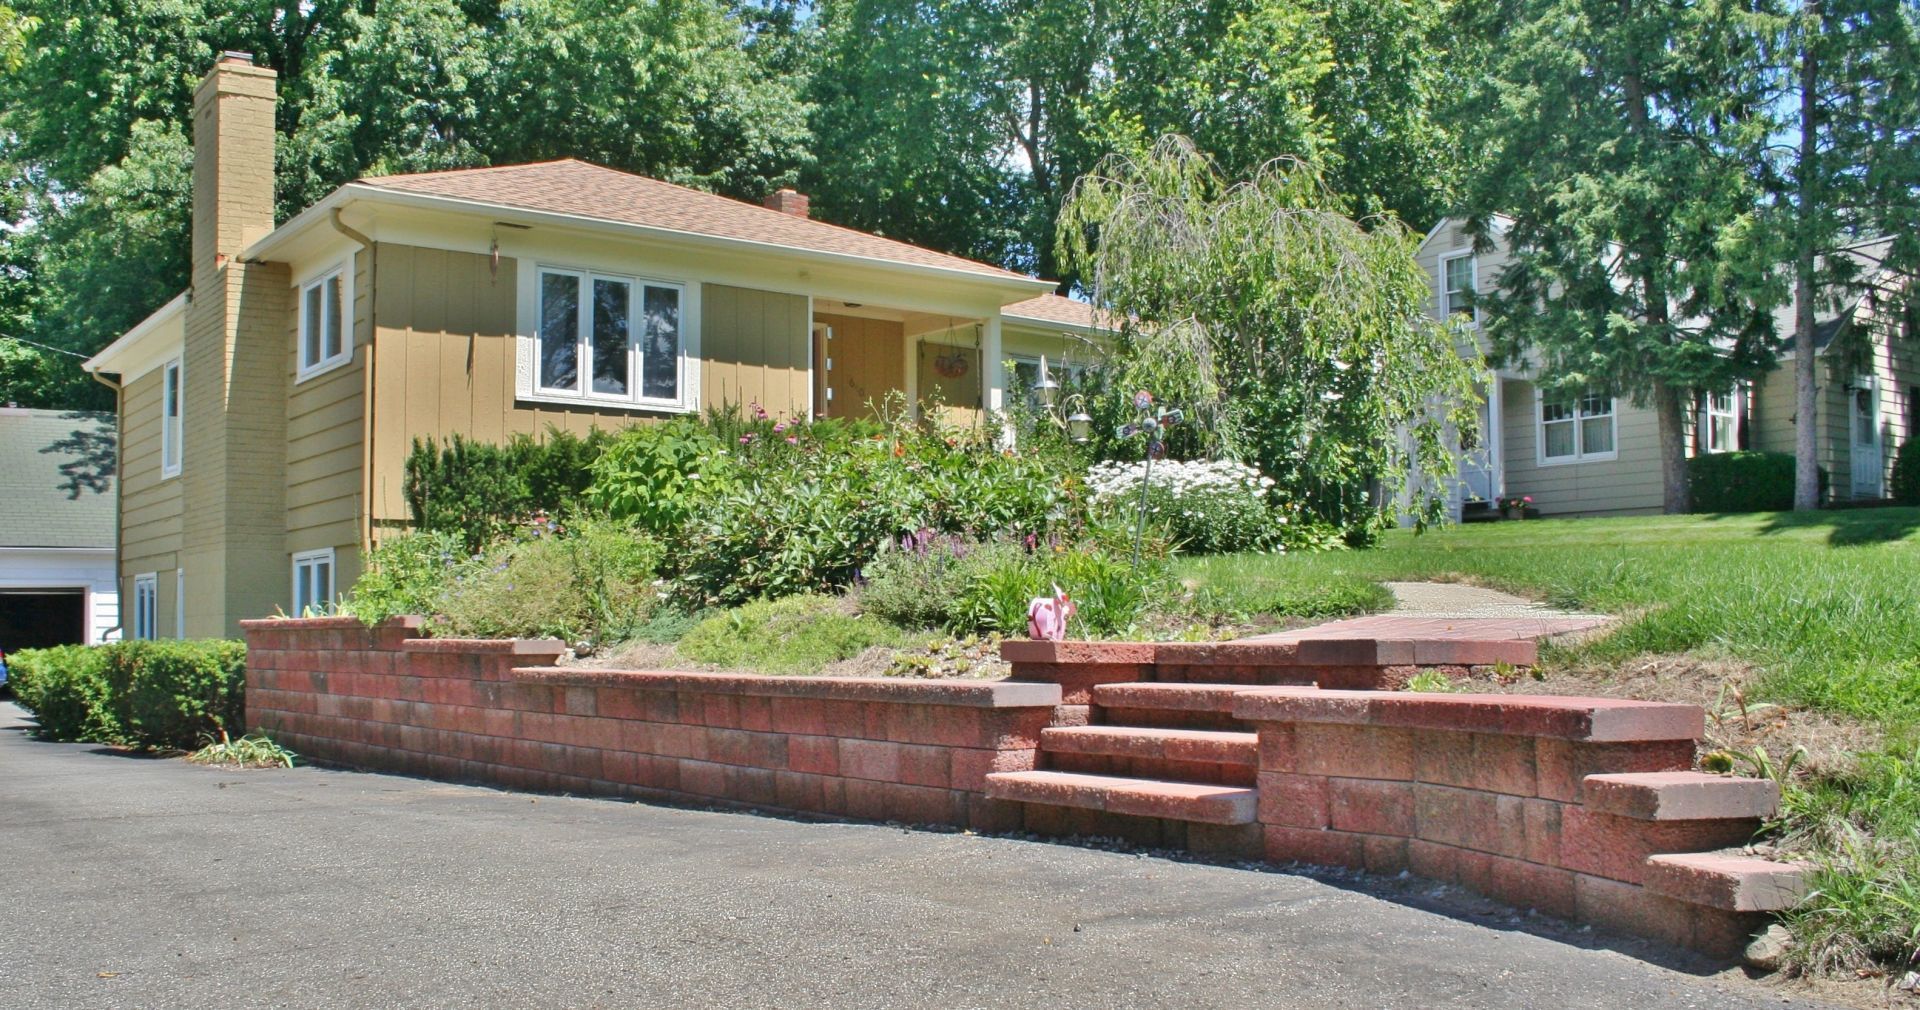
Country Manor Retaining Wall
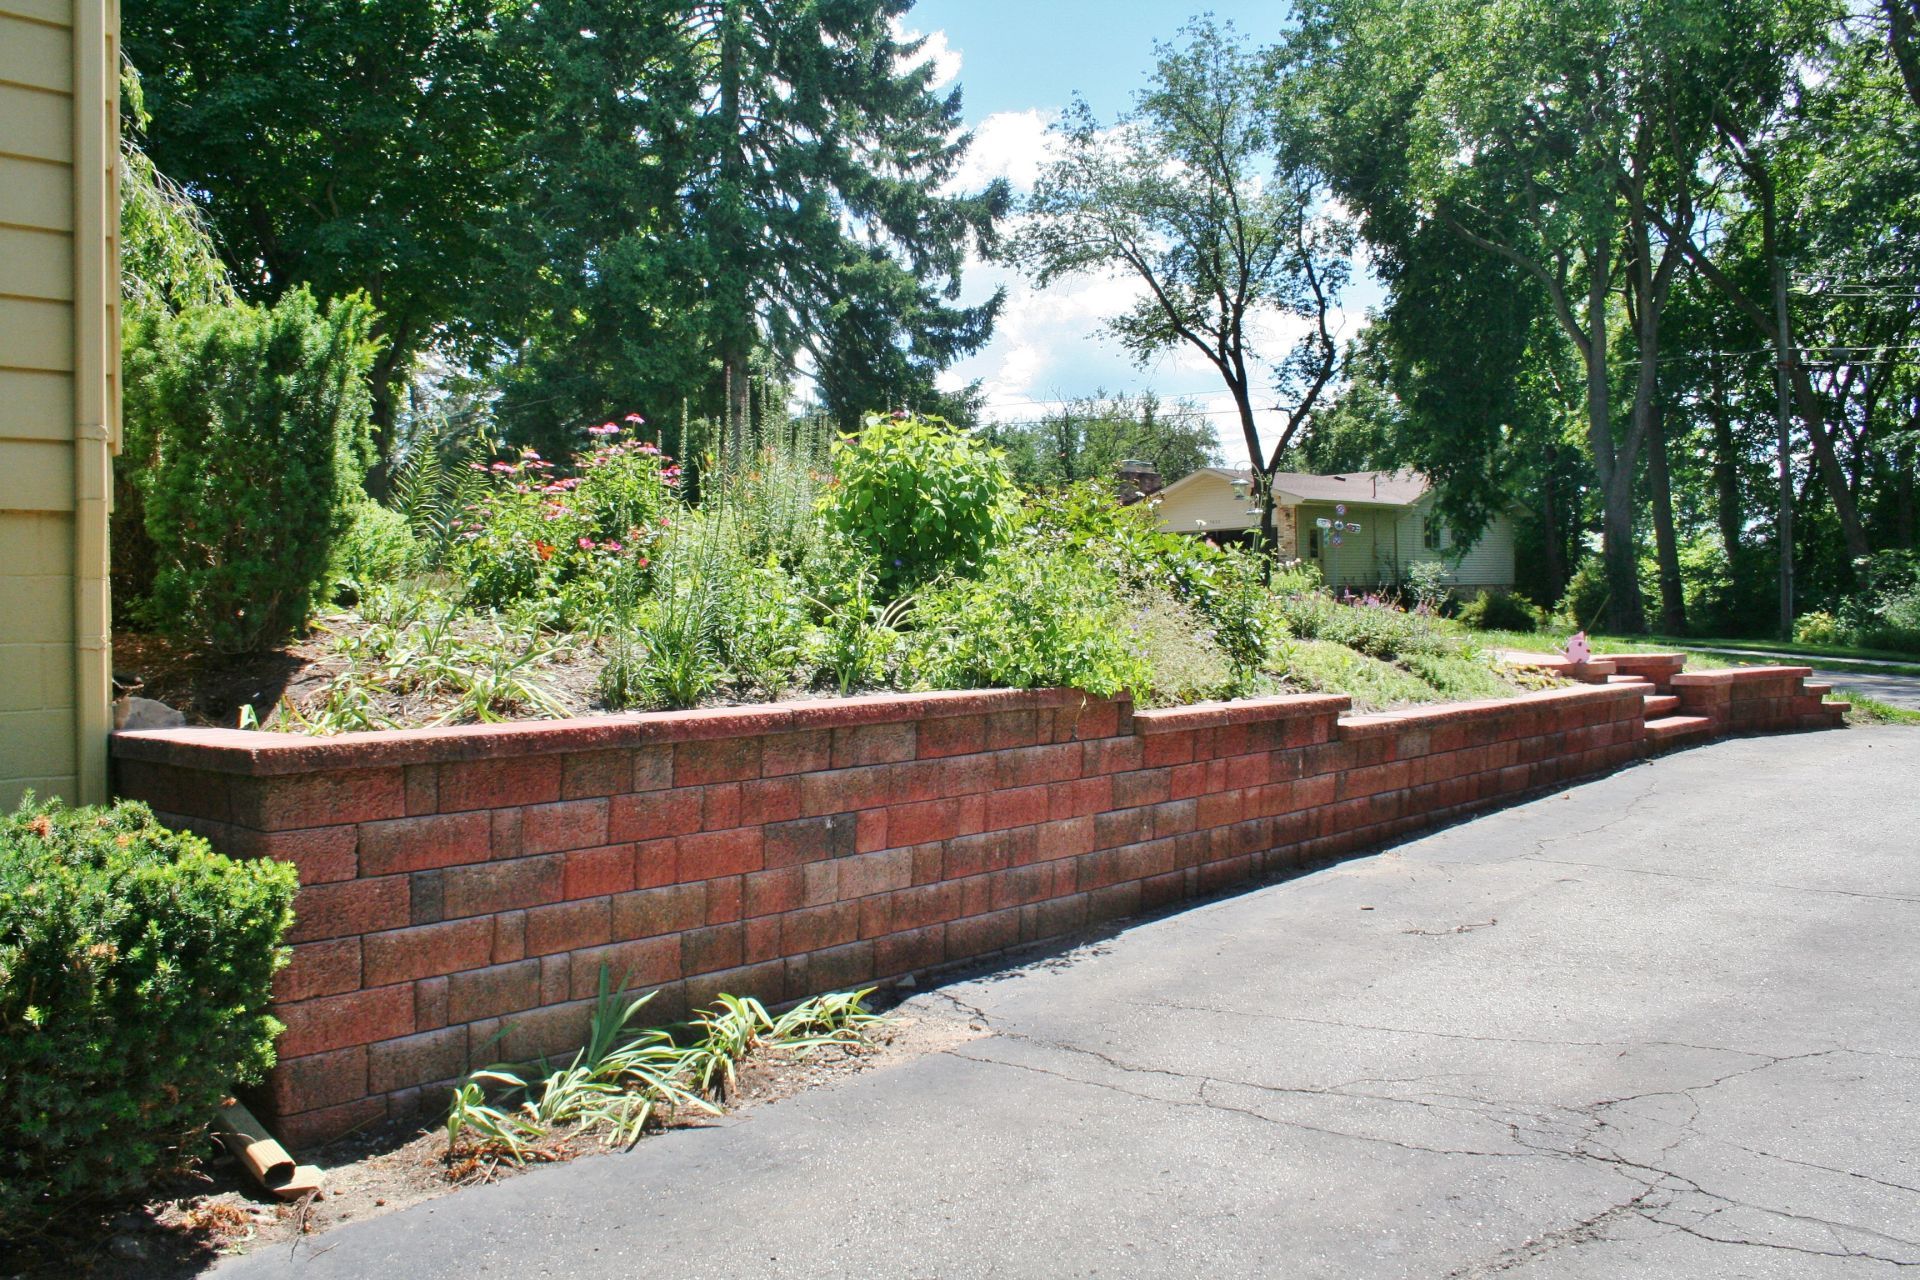
The Rustic Design And Color Blend Gives This New Wall An Old World Look And Feel
The New Retaining Wall Replaced An Old Rotting 6x6 Wood Retaining Wall
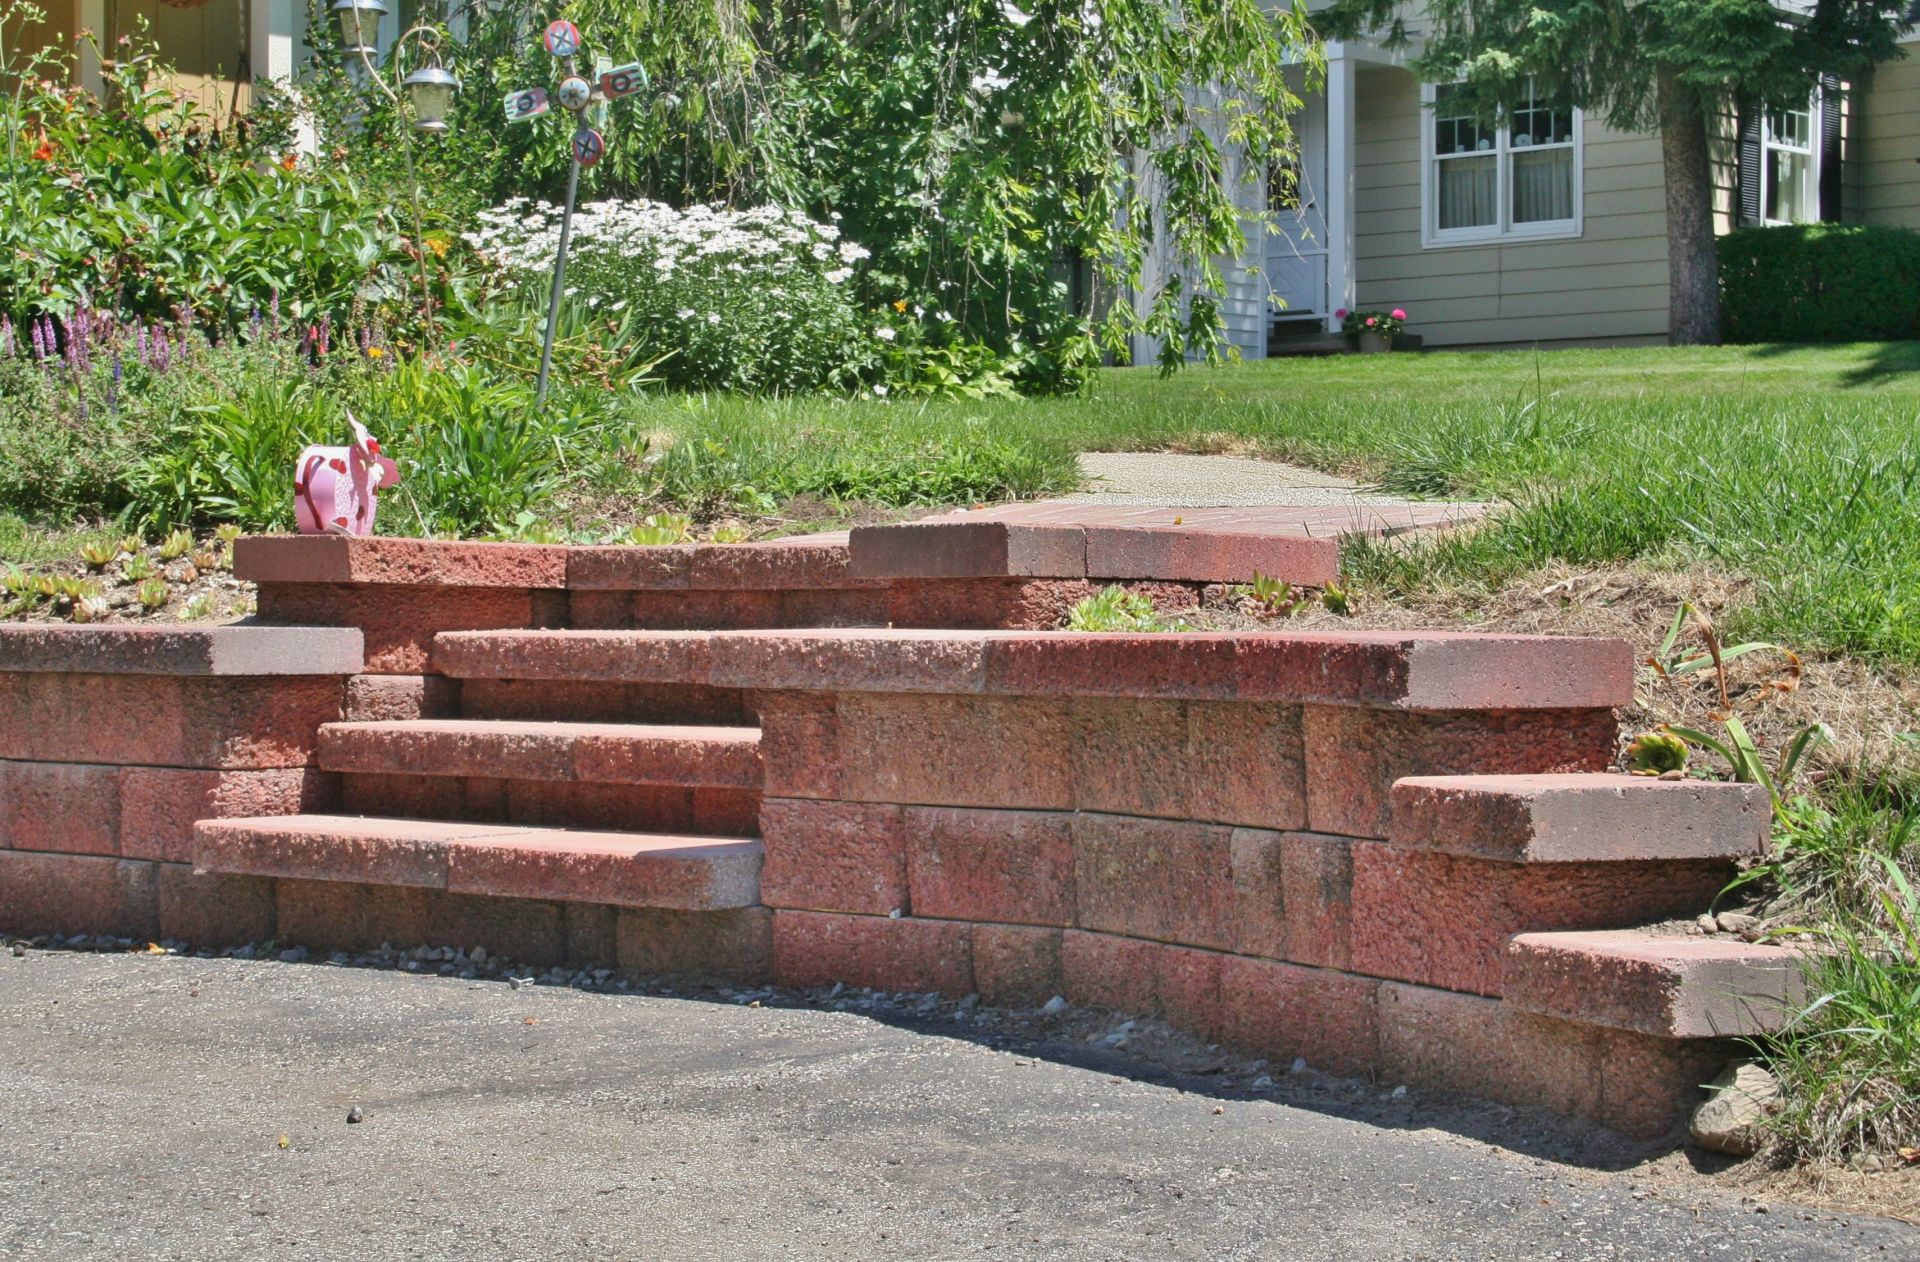
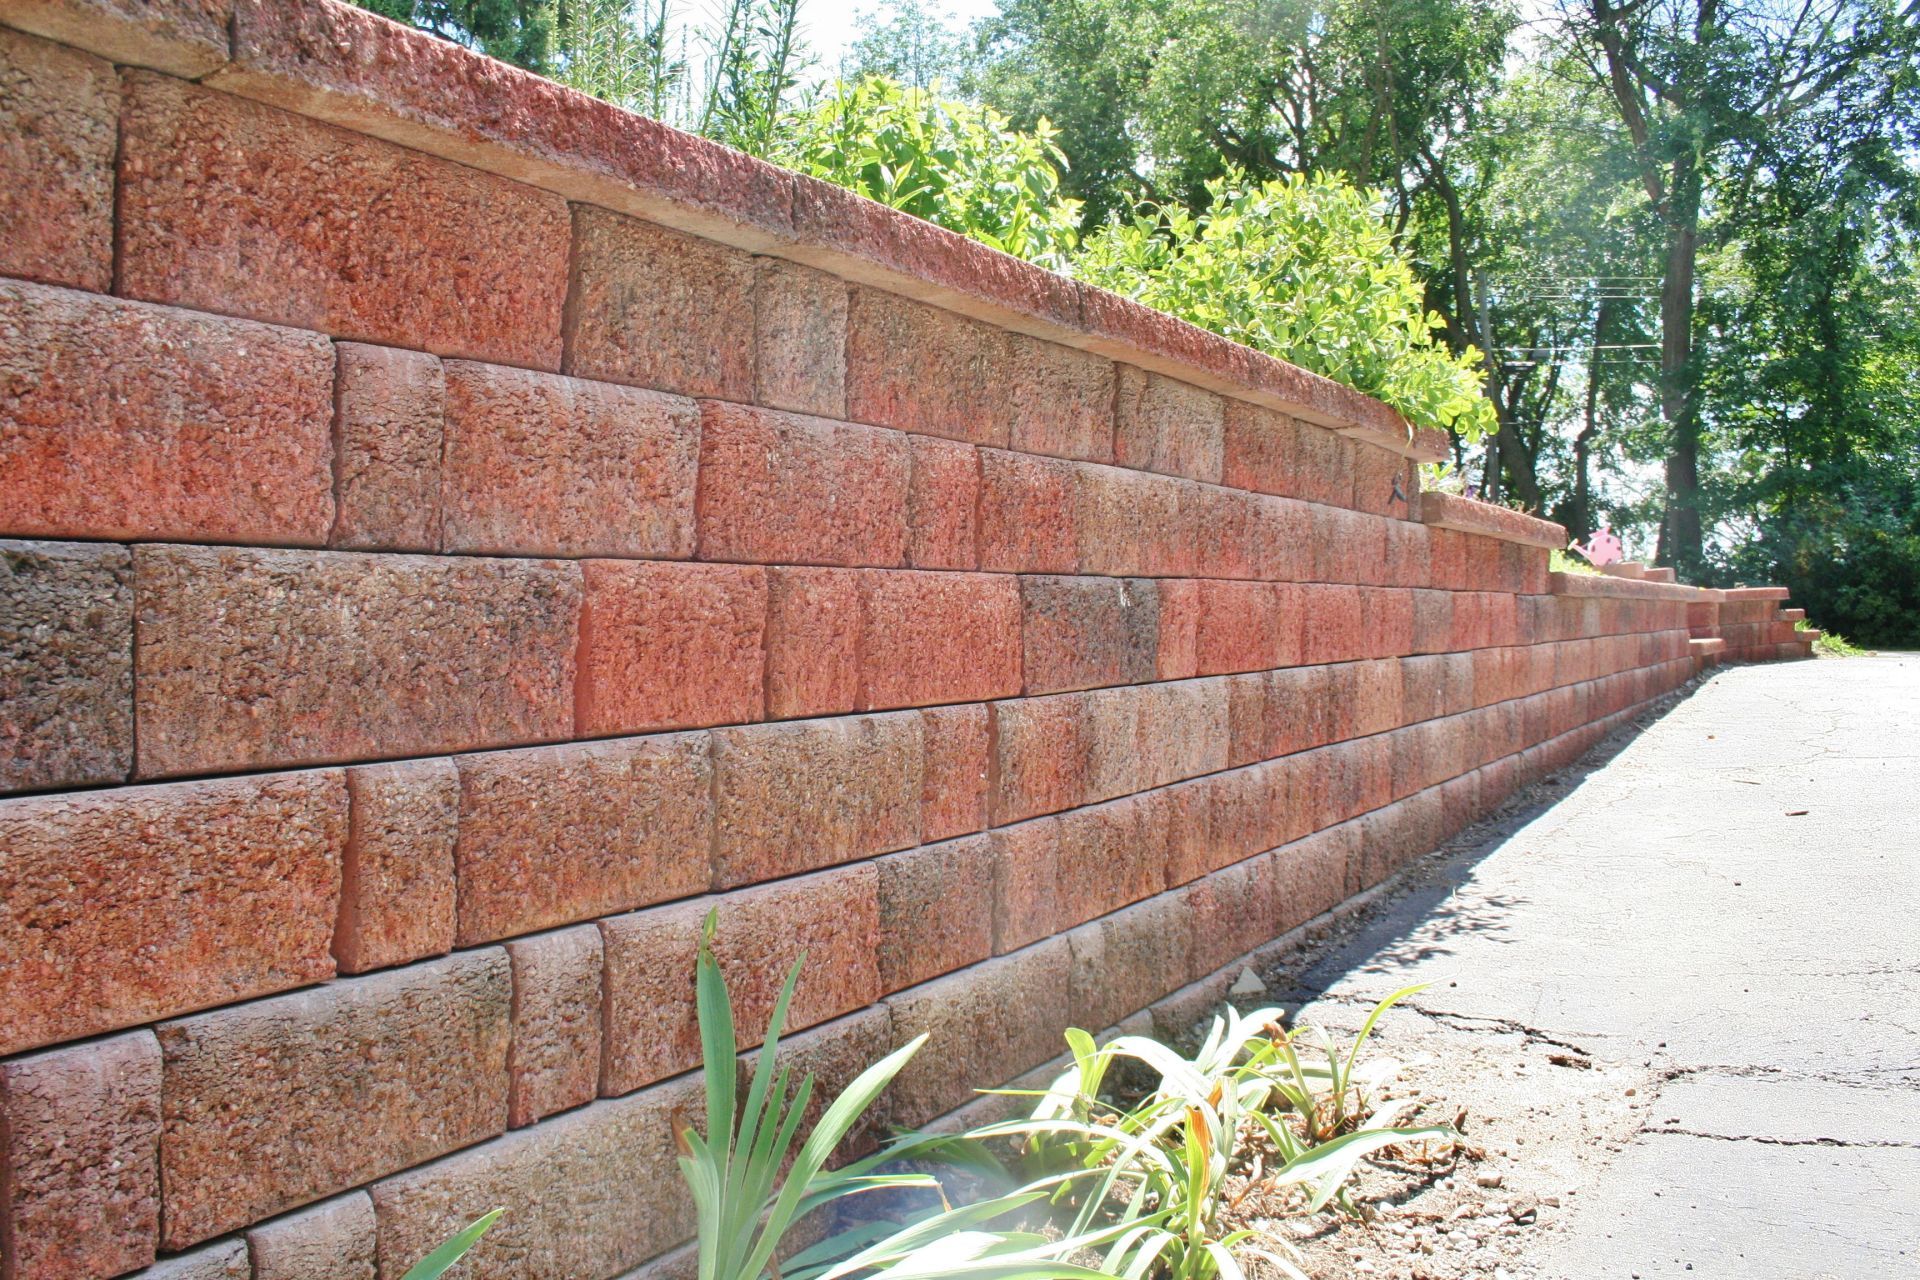
A Closer Look At The Country Manor Retaining Wall
Dexter Block
13600 Luick Dr, Chelsea, MI 48118
734-424-9420