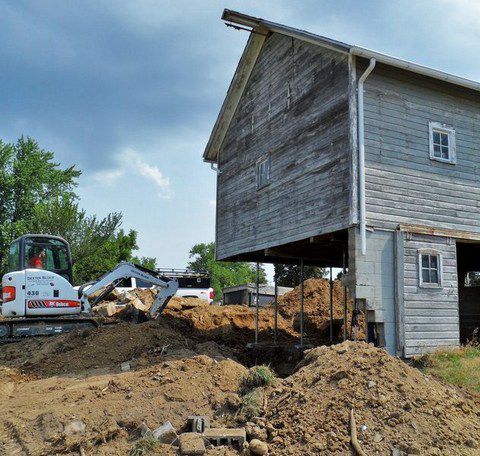
Old barn that needs a foundation repair
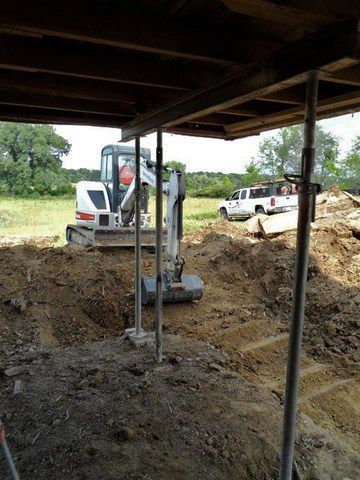
An Excavator is useed to dig footings
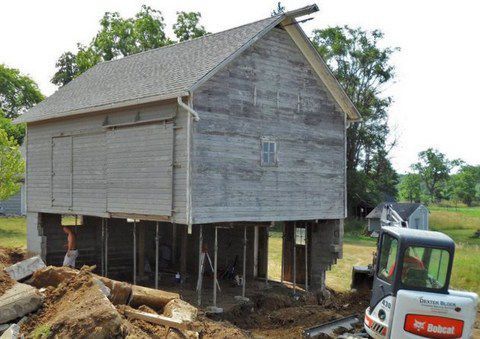
Support poles are placed to hold up the barn while the foundation is being repaired
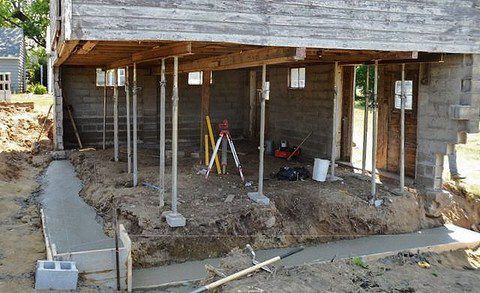
Footing has been poured and awaits block to finsh the foundation
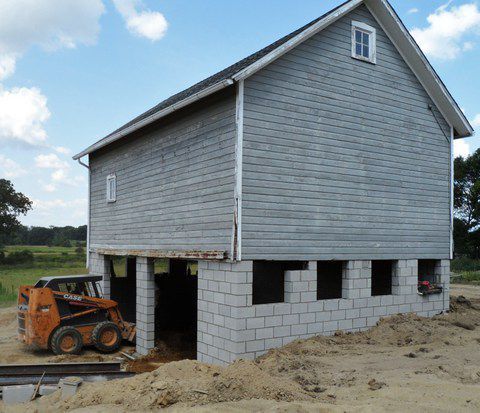
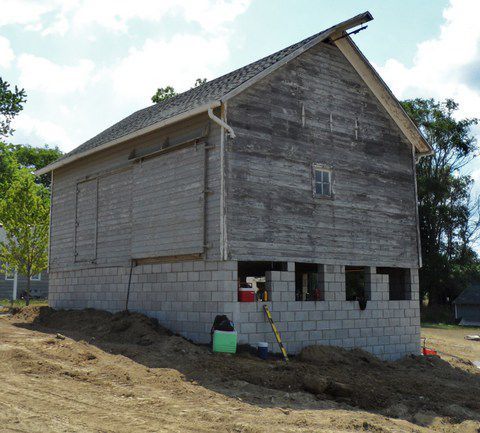
The founation is complete and now being backfilled
A new founatin will help this barn stand for generations to come
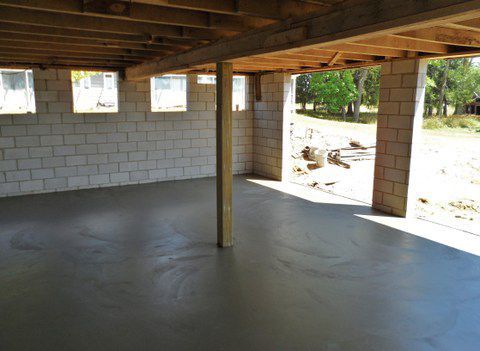
A support beam has also been built into the founation to support the floor of the existing barn
Freshly poured concrete slab
Dexter Block
13600 Luick Dr, Chelsea, MI 48118
734-424-9420